
Getting a grasp and developing a deep understanding, to mix on a pro level takes enormous time & patience. Audio Engineers and Musicians often refer to Mixing & Mastering as the final step before releasing music on different portals. We have compiled this article specifically for you to understand what ‘A Mix’ & ‘Mixing‘ means and how you can achieve a great Mix.
You can also use this article as a reference for your music production and mixing career. Also, if you are already producing music and want to learn to mix and master your own tracks or get them professionally mastered, get in touch.
What does a Mix or Mixing mean?
In general, a Mix would refer to a combination of two or more things. Within Dj-ing, the process of taking two or more recorded tracks and blending them together is known as Mixing.
However, when it comes to Music Production and Audio Engineering – Mixing refers to adjusting and combining individual tracks into a stereo or multichannel format. To simplify, it is the combination of putting together multiple audio channels to form one mass.
The most important part of any recording project depends on how well you have blended various elements together into one balanced final Mix. These tracks could be blended together by various different processes. To name a few: EQ-ing, Compression and Reverb, are the most common tools used in creating a brilliant “Mixdown”.
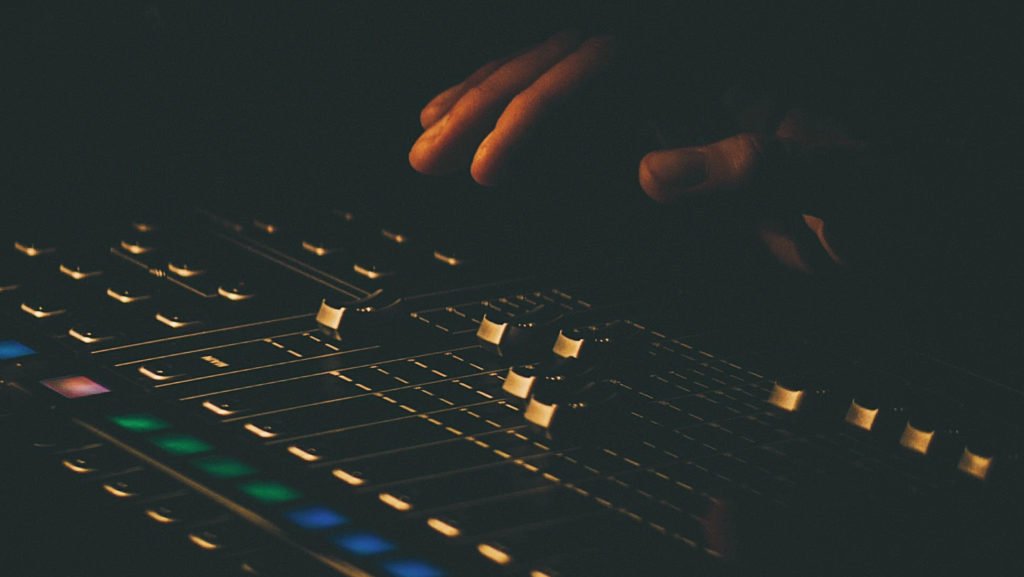
The Workflow
In order to achieve a great mix, you need to see and hear things clearly. More importantly, you need to think clearly. Great mixes come with patience and a clear understanding of the project. Here are a few points to help you set up your Mix Session/Project, and get it ready for Mixing.
Listen to the Track & the Reference Track.
Before you start off fiddling with the project listen to the track intently. In case you are Mixing your own track make sure you find a reference track that meets the sonic characteristics of your track.
One thing to always remember & take advantage of is that ‘Great Mixes already exist’.
Artists and musicians usually hand over their production projects with their Multi Tracks recorded. These tracks are usually referred to as Stems. Import stems and set all of the faders to 0dB, then listen to the track you have received, vigorously.
This step will help you avoid missing the objective of the mix and will also give you a clear understanding of where the mix is heading. You can even use a spectrum analyser to compare where you are in terms of the other reference mix.
Make your workflow quicker and more efficient
Every DAW has its own way of grouping tracks together. Learn them & set up groups to make your workflow quicker and even more efficient. As you become more familiar with Mixing, your sessions will become only larger over time, and here, colour coding will help.
Colour code your groups so that you can quickly locate and find stems easily. Learning how to minify large sessions to cleaner smaller ones will help keep stress away.
Focus on your essential elements – Levelling
It is essential to finalise the major elements of your mix even before you start the process. For example, if you know that your track demands the most attention for the vocalists, you will create space for the vocalist in your mix as you go on with your Mixing process. Decide early and mix accordingly.

Headroom
‘Headroom’ is like the safety zone in a Good Mix. It is the available area between the highest gain level and 0dB. To get a good headroom ensure nothing should exceed -6dB, throughout the track. Healthy headroom guarantees that all your tracks will be ready for mastering once your mix is complete. All your mixing decisions lead to mastering, so it’s important.
Bussing
The process of routing multiple tracks to the same aux channel in your DAW is known as Bussing. In situations where you have multiple microphones capturing the same source, Bussing is an essential technique. Engineers in the analogue era didn’t have to put several different compressors on each individual mic and neither should you. You can group multiple tracks into a single aux channel and add the desired effects instead of doing each individually – thus creating a “Sub-Mix“.
Essential Tools for Mixing
A great mix can be defined as having a perfect balance of Instruments, Tone, Space and Dynamics or Interest; achieved through an understanding of Frequency.
Frequency & the Frequency Spectrum.
Frequency ranges from “0” to infinite, however, humans cannot hear all the frequencies. Our ears are limited to 20Hz up to 20,000Hz (or 20kHz) and that is our Frequency Spectrum.
The Frequency Spectrum can be divided into the following Bands and ranges:
| Frequency Band | Frequency Range |
| Sub-Bass | 20 Hz to 60 Hz |
| Bass | 60 Hz to 250 Hz |
| Low-Mids | 250 Hz to 500 Hz |
| Mid-Range | 500 Hz to 2kHz |
| Upper-Midrange | 2 kHz to 4 kHz |
| Presence | 4 kHz to 6 kHz |
| Brillance | 6 kHz to 20 kHz |
A Mixing engineer starts with an arrangement of frequencies given to him by a producer. If the arrangement itself is not proper and instruments clash with each other, no amount of mixing technique can correct it and the mix will still sound “off” or “bad”. So always start with a good arrangement of instruments and sounds.

Mixing Tools:

1. EQ’s & Filters.
To balance and space out the various frequency components of instruments or sounds in an audio source, a technique called Equalisation (EQ) is employed in audio mixing. Let us say, a Bass guitar and a kick are occupying the same region of the frequency spectrum, then an Eq’s is engaged to carve out space in the bass for the kick. There are various EQ types that can be applied in mixing, such as:

Graphic EQ’s
These are arguably the easiest to use and understand. With the help of a graphical representation of the frequency spectrum, this kind of EQ enables you to change the volume of particular frequency bands. A fixed number of frequency bands that can be individually modified are typically present in graphic EQs.
Parametric EQ
This kind of EQ enables you to adjust the level, bandwidth, and center frequency of specific frequency bands. Parametric EQs are often used in recording studios, live sound reinforcement, and mastering applications. Used to address more specific problems in a mix, such as removing unwanted resonances or feedback. Compared to Graphic EQs, it offers more accurate control over the audio signal.
Shelving EQ’s
Utilised to add or remove warmth or brightness from a mix, this type of EQ allows you to adjust the level of all frequencies above or below a certain frequency. High-shelving EQs – boost or cut the high frequencies, while low-shelving EQs are used to boost or cut the low frequencies.
High-Pass and Low-Pass Filters
These are simple EQs that allow you to eliminate certain frequencies from an audio signal. High-pass filters remove low frequencies, while low-pass filters remove high frequencies.
Notch filter
Notch filters work by creating a dip or a “notch” in the frequency spectrum at a specific frequency. Being extremely precise they are used to address explicit issues in a mix, often to remove unwanted resonances or feedback from a recording.
Dynamic EQ:
Contingent upon its amplitude level, Dynamic Eq’s allow you to apply EQ only to certain parts and some specific levels of the audio signal. This can be useful for creating a sense of space in a mix or for addressing specific problems like sibilance or plosives in a vocal recording.

Analogue-emulated EQs
Give a mix a vintage or retro sound by using analogue-emulated EQs. Or reproduce the sound of a particular vintage EQ that was employed on a vintage recording. Also used to give individual tracks or the mix as a whole more personality or “colour”; They can assist in giving the sound warmth, depth, and other tonal qualities that are not possible with conventional digital EQs. Additionally, they can aid in giving recordings that are meant to seem retro and more authentic.
2. Compression & Compressors.
Dynamics play an essential role in mixing. The Dynamics of sound refers to the variations in loudness and amplitude of the audio signals. The Dynamic range is the range between the loudest peak and the quietest part of an audio signal. We use expanders and compressors to reduce the gaps in this range.
By lowering the volume of loud noises (peaks) and raising the volume of quiet sounds(valleys), compression is a tool that lets you manipulate the dynamic range of an audio source.
There are several parameters that can be adjusted on a compressor to control the amount of compression applied to a signal, including:
- Threshold: the level at which compression begins to take effect
- Ratio: the amount of reduction applied to the signal once the threshold is exceeded
- Attack: the amount of time it takes for the compression to take effect once the threshold is exceeded
- Release: the amount of time it takes for the compression to stop once the signal level drops below the threshold.
Compression is used to control the dynamic range of individual tracks, such as vocals and drums, or the entire mix. Use it creatively to add sustain to guitar parts, punch to drums, or to make vocals stand out in a mix.
Common types of compressors in mixing:
Peak Compressors:
React to the loudest parts of a signal, also called the peak. They reduce the level of loud sounds that exceed a certain threshold and are often used for controlling the dynamic range of individual tracks, such as vocals and drums.
RMS Compressors:
These compressors react to the average level of a signal, also called RMS. They are designed to reduce the level of sounds that are consistently loud. They are often used for controlling the dynamic range of the entire mix.
Optical Compressors:

To provide a more natural and musical compression, this compressor uses an optical sensor that allows the compressor to give a slower attack time than other types of compressors. They are often used for adding warmth and musicality as a character to a mix.
FET Compressors:
These compressors use a field-effect transistor (FET) to control the compression, which gives them a fast attack time and a more aggressive sound. They are often used for adding punch and energy to a mix.
Digital Compressors:
These compressors are software-based and can be used in digital audio workstations (DAWs). They have a wide range of settings and can emulate the characteristics of various analogue compressors.
Multi-band Compressors:
These are digital compressors that can process different frequency bands of the audio signal separately. They can be useful for targeting specific frequency ranges and can help to prevent unwanted artefacts caused by compressing the entire audio signal.

Dynamic Range Compressors:
These are digital compressors that are designed to improve the dynamic range of an audio signal. They can be used to increase the overall loudness of a mix without causing distortion.
Transient Shapers:
These are digital compressors that are designed to shape the transient response of a signal. They can be used to add punch to drums, or sustain to guitar parts, or to control the sustain of a sound.
Limiting Amplifiers:
These are digital compressors that are designed to prevent audio signals from exceeding a certain level, thereby preventing clipping and distortion.
3. Limiter
A limiter is a device or type of dynamic processor that stops audio signals from going above a specified threshold (“limit”), avoiding clipping and distortion in the final mix. It is used after compression and EQ to bring the overall volume up to the desired level. Over-limiting can result in a loss of dynamic range and a “squashed” or “over-compressed” sound and must be used cautiously.

Types of limiters include:
- Hard Limiters: Designed to prevent audio signals from exceeding the threshold level at any cost to prevent clipping and distortion on individual tracks or the entire mix.
- Soft Limiters: Used to increase the overall loudness of a mix without causing distortion, these limiters have a lower ratio, typically between 4:1 and 10:1. They are designed to prevent audio signals from exceeding the threshold level while still allowing some dynamic range to be preserved. They are often
- Lookahead Limiters: A built-in feature allows this limiter to “look ahead” in the audio signal to reduce the levels and prevent clipping or distortion before it actually exceeds the threshold.But it can cause delays or latency.
- Brick-wall Limiters: Similar to a brick wall, it stops audio signals in their path, preventing exceeding the set limit. It is a hard limiter but with precise threshold control.
- Multi-Band Limiters: Designed to limit different frequency bands separately, without affecting the overall dynamic range of the mix.
4. Reverb & Reverb Types.
Reverb is an effect that mimics the sound of an audio signal playing in a particular environment. Some common reverbs used include:

- Room Reverb: Simulating the sound of a signal being played in a specific size room and can be adjusted to simulate different room sizes.
- Hall Reverb: As the name suggests this reverb simulates a concert hall. Here again allowing adjustments to simulate different size halls.
- Plate Reverb: A simulation of the Plate reverbs, which were the first artificial reverb and known for their metallic and smooth sound.
- Spring Reverb: Spring reverbs were often used in guitar amplifiers and are known for their bouncy and twangy sound.
- Convolution Reverb: This type of reverb uses impulse response (IR) samples of real-world spaces or hardware reverbs to create the reverb. This allows for a very realistic and detailed reverb sound.
- Algorithmic Reverb: This type of reverb uses mathematical algorithms to generate reverb, rather than using impulse response samples. Algorithmic reverbs can provide a wide range of sounds, from realistic to more abstract or otherworldly.

5. Delay
The delay effect mimics the sound of an audio signal being played back after a predetermined amount of time. It can be used to produce unusual effects or give a mix a sense of depth and distance.
6. Panning & Stereo Imaging.
A tool that lets you control the stereo positioning of an audio source is panning. It can be utilised to give a mix a sense of direction and space.
Stereo imaging refers to the overall balance and distribution of sounds within the stereo field. It is an important aspect of mixing, as it can greatly affect the perceived depth and width of a mix.
Use Panning to place sounds in different locations within the stereo field, giving a sense of width and spread to instruments in a recording. Develop an immersive listening experience by using this Mixing tool. For example, a guitar is panned to the right or left while the vocals are centred to make it sound more up-front and present. Thus, creating a sense of direction from where sound is originating while listing in stereo.

TIP: Mono compatibility in mixing refers to the ability of a stereo mix to be heard properly when played back in mono. This is important because not all playback systems are capable of reproducing stereo sound, and some listeners may choose to play back the audio in mono. To ensure mono compatibility in a mix, it’s important to balance the levels and panning of the different tracks in a way that they translate well in mono.
Automation:
Using an automation tool, you can record and replay changes made to different mix parameters over time. Panning, loudness, and other parameters can be changed smoothly using this.

10 Tips to keep in mind while Mixing
Time-honoured, studio-tested mixing tips designed to help you do your Best MIX.
1. Gear/speakers
Make sure you use good speakers that are clear and crisp. That way your speakers don’t need to be too loud and you can hear the nuances of the track while you listen quietly or at a low volume.
2. Get into the Zone
Key to a good mix is Focus. Clear your schedule, make sure you are not interrupted and get into the zone. It often takes a mix engineer some time to get into ‘the Zone’, before your best results come centre stage.
3. Ear Fatigue
Do not overwork your ears and tire them. Avoid it… Take a break whenever required, it will help you with making better decisions while Mixing. It is a good idea to mix at a low volume as loudspeakers will add to ear fatigue. Mix at listening levels don’t crank it no matter how tempted.
4. Commit and don’t waste time
Often Producers start playing with MIDI files when they are mixing to better a track. Remember you will always want to better it, but this wastes a lot of time as you will never really ever finish the track or get to the mix stage. Commit to your track and then get into the mix. Don’t change or play with MIDI once your mixing.
5. Don’t Micro Mix
Mix the whole track and not individual parts, as most likely you would have already done this is the pre-mix stage. So mix the whole as a track and make sure it sounds good as a whole.
6. Referencing
It’s best to have a reference track, so you have a clear direction of what you want the result to be like. Keep checking back with the reference track when mixing.
7. Loudness v/s Softness
It’s not always good to increase levels, it’s even better sometimes to bring down the levels and keep the loudness at an easy listening level, allowing room for play in mastering.
8. Practice makes perfect:
Like any art form, you get better with practice. It’s a good idea for you to mix as many tracks to get better at it, so ask your producer friends to send you their tracks and try your hand at it. The more you do the better you get at it.
9. Mixing is an Art:
Just like music creation is an art, Mixing is also an art which develops over a period of time. Every mix engineer has his own touch and can make the end result different and unique. Do you really want to mix your track? A good question to ask yourself. Just because you composed or produced a track you don’t necessarily mean that you need to mix it yourself. You can send it to an expert or a mix engineer.
10. Does my track need Mixing?
Most producers are constantly playing around with the mix at the production stage. So it’s possible that your track sounds good enough to send for mastering. Bounce it and start the Master!
Also, make sure you get perspective on your mixes in multiple different formats. Understand how your mix is going to sound…
- In your studio
- On laptop speakers
- In your bedroom
- On earbud headphones
- On studio headphones
- In the car with a nice stereo system
- In the car with a bad stereo system
- On one very small mono speaker
- On very old speakers that have broken cones
- In a room outside of your studio
- In a room outside of your studio with the door closed
Bottom line: when it comes to mixing, use your instincts and trust your ears. As Duke Ellington once said, “if it sounds good, it is good!”