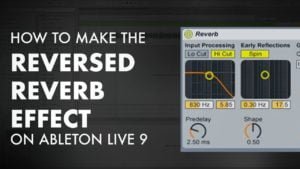
When Producing Music with Vocals, an interesting technique to give your vocals more depth and modulation is to apply the reversed reverb effect and layer it with your main vocal line. This effect is used to create an impact on a particular phrase or word, giving more emphasis to the emotions attached.
How to create Reversed Reverb Effects?
(Music Production Tips and Tricks)
Prepare your vocal track.
Open the project file on Ableton Live. Select the vocal track.
Add reverb to your Vocals if you have not already done so.
Duplicate the Vocal Track
Duplicate the vocal track by clicking the track with <cmd> d. Disable any and all sends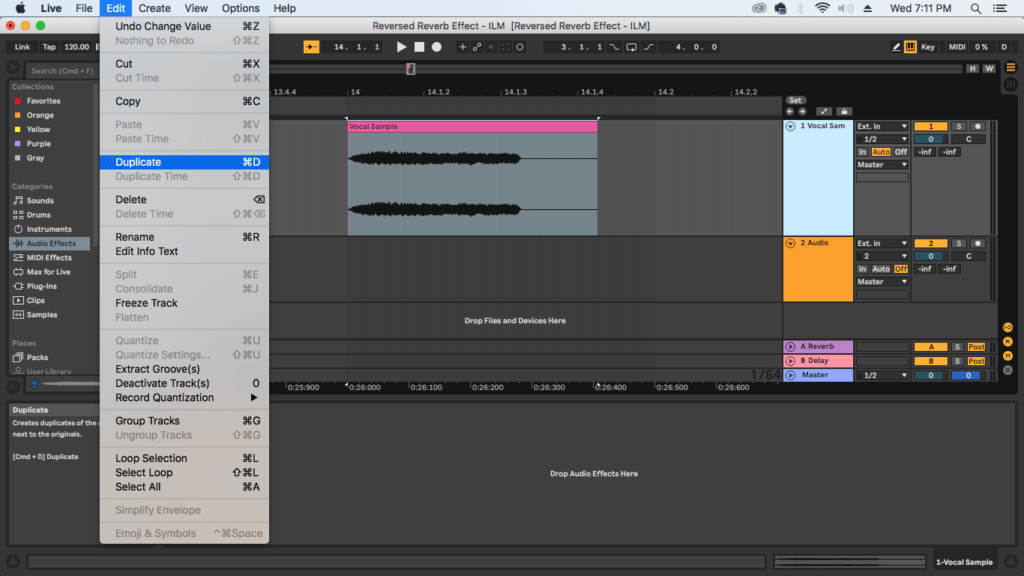
Reverse the duplicated track
Go to Clip Properties and reverse the duplicated vocal track.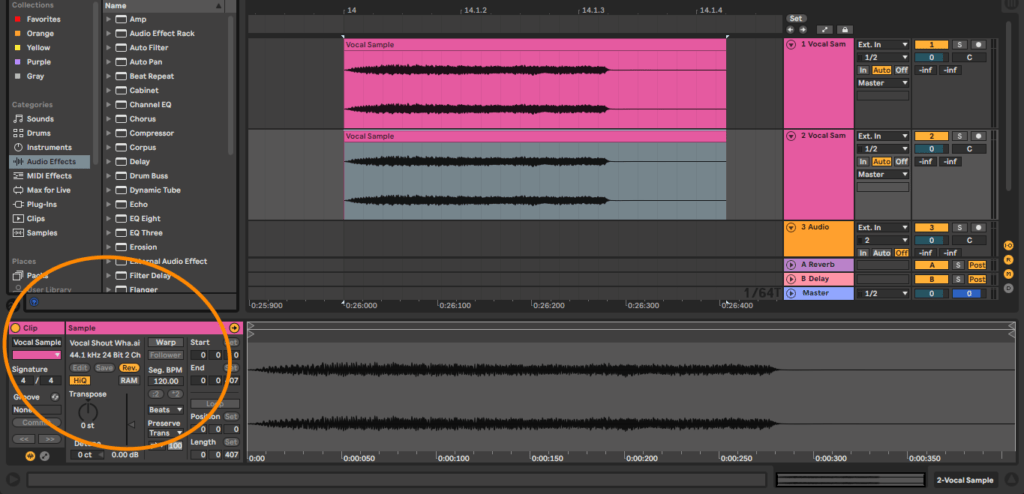
Add Reverb to the duplicate track
Copy the reverb from the original vocal and paste it as an insert on the duplicate track.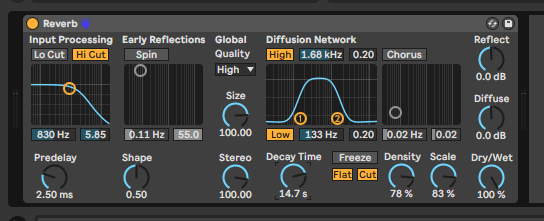
Flatten Audio
Now freeze and flatten the duplicated track. This is done to obtain the reverbed tail.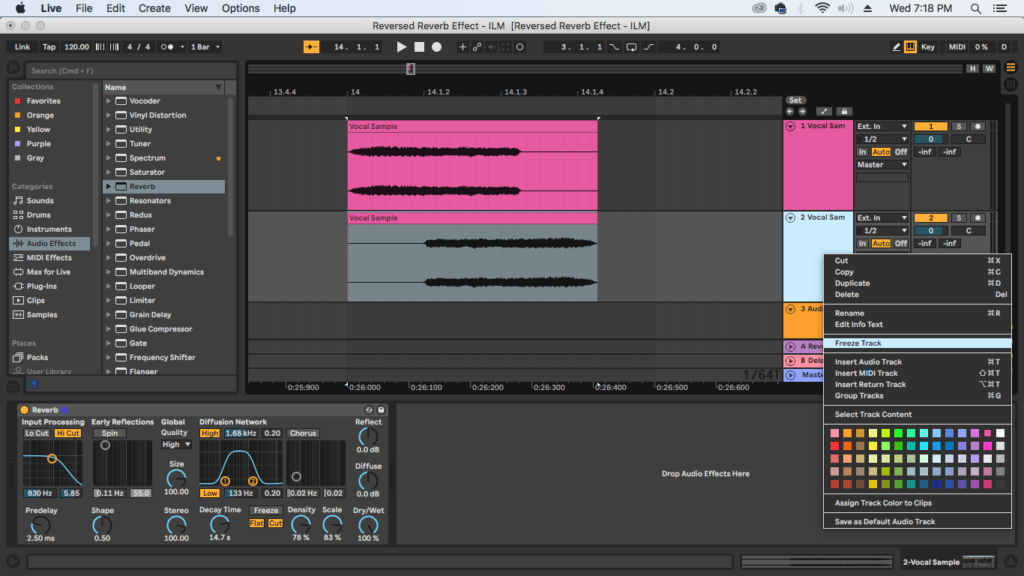
Reverse the flattened clip
Go back to clip properties and reverse the flattened clip
Align the clips.
Zoom in and align the starting point of both clips
Trim
Trim the beginning (reversed tail) to open the leading ambience.
Watch the Reversed Reverb How-to Video:
Reverb
Reverb is one of the most essential elements in your toolkit because it can add depth to a track, while making space for instruments. Reverberation or reverb effect is created when a sound is reflected back to the listener’s ears from surrounding objects. These could include furniture, people and air. The reflected signal causes a large number of reflections to build up and subsequently decay, as the sound gets absorbed by the objects/surfaces in the space.
Fx or effects help to create the essential movements in your track. They can include any recorded or synthesized sounds used as supportive elements to make smoother transitions from one part to another. The effect shown in the video is that of a Reversed Reverb Fx that can increase the spatial feel within your tracks.


